
Activated: 2020-04-04
QRP in the far north is tough . . . but not impossible.
There is a mostly-unspoken ethic in the SOTA community regarding activators and activations: you should execute summit bids to make the peak accessible to as many chasers as possible.
There is nothing wrong with doing a quick-and-dirty activation on the 2 meter band if that is all you have time for. But if “wham, bam, and thank you mountain” is the only style you use then, as they say, your kung fu is not strong.
After moving to Alaska I had been able to activate a few summits using local VHF contacts only. That was good for me, since I got the points and the bragging rights, but it was not doing much for the larger SOTA community. That pissed me off, so I did what I always do when I get pissed off: I refused to take no for an answer and decided to make the impossible possible. I was going to figure out how to do QRP portable from Alaska to the lower 48.
Earlier testing with SSB had been unsuccessful, so I decided to go all-in on weak signal digital. FT8 is part of the WSJT digital modes suite and is excellent for weak signal operating. The only problem is that you need a lot of gear to use it: computer, interface, and software. That may not sound like a lot of stuff, but it gets pretty heavy after the first 500 feet of elevation gain.
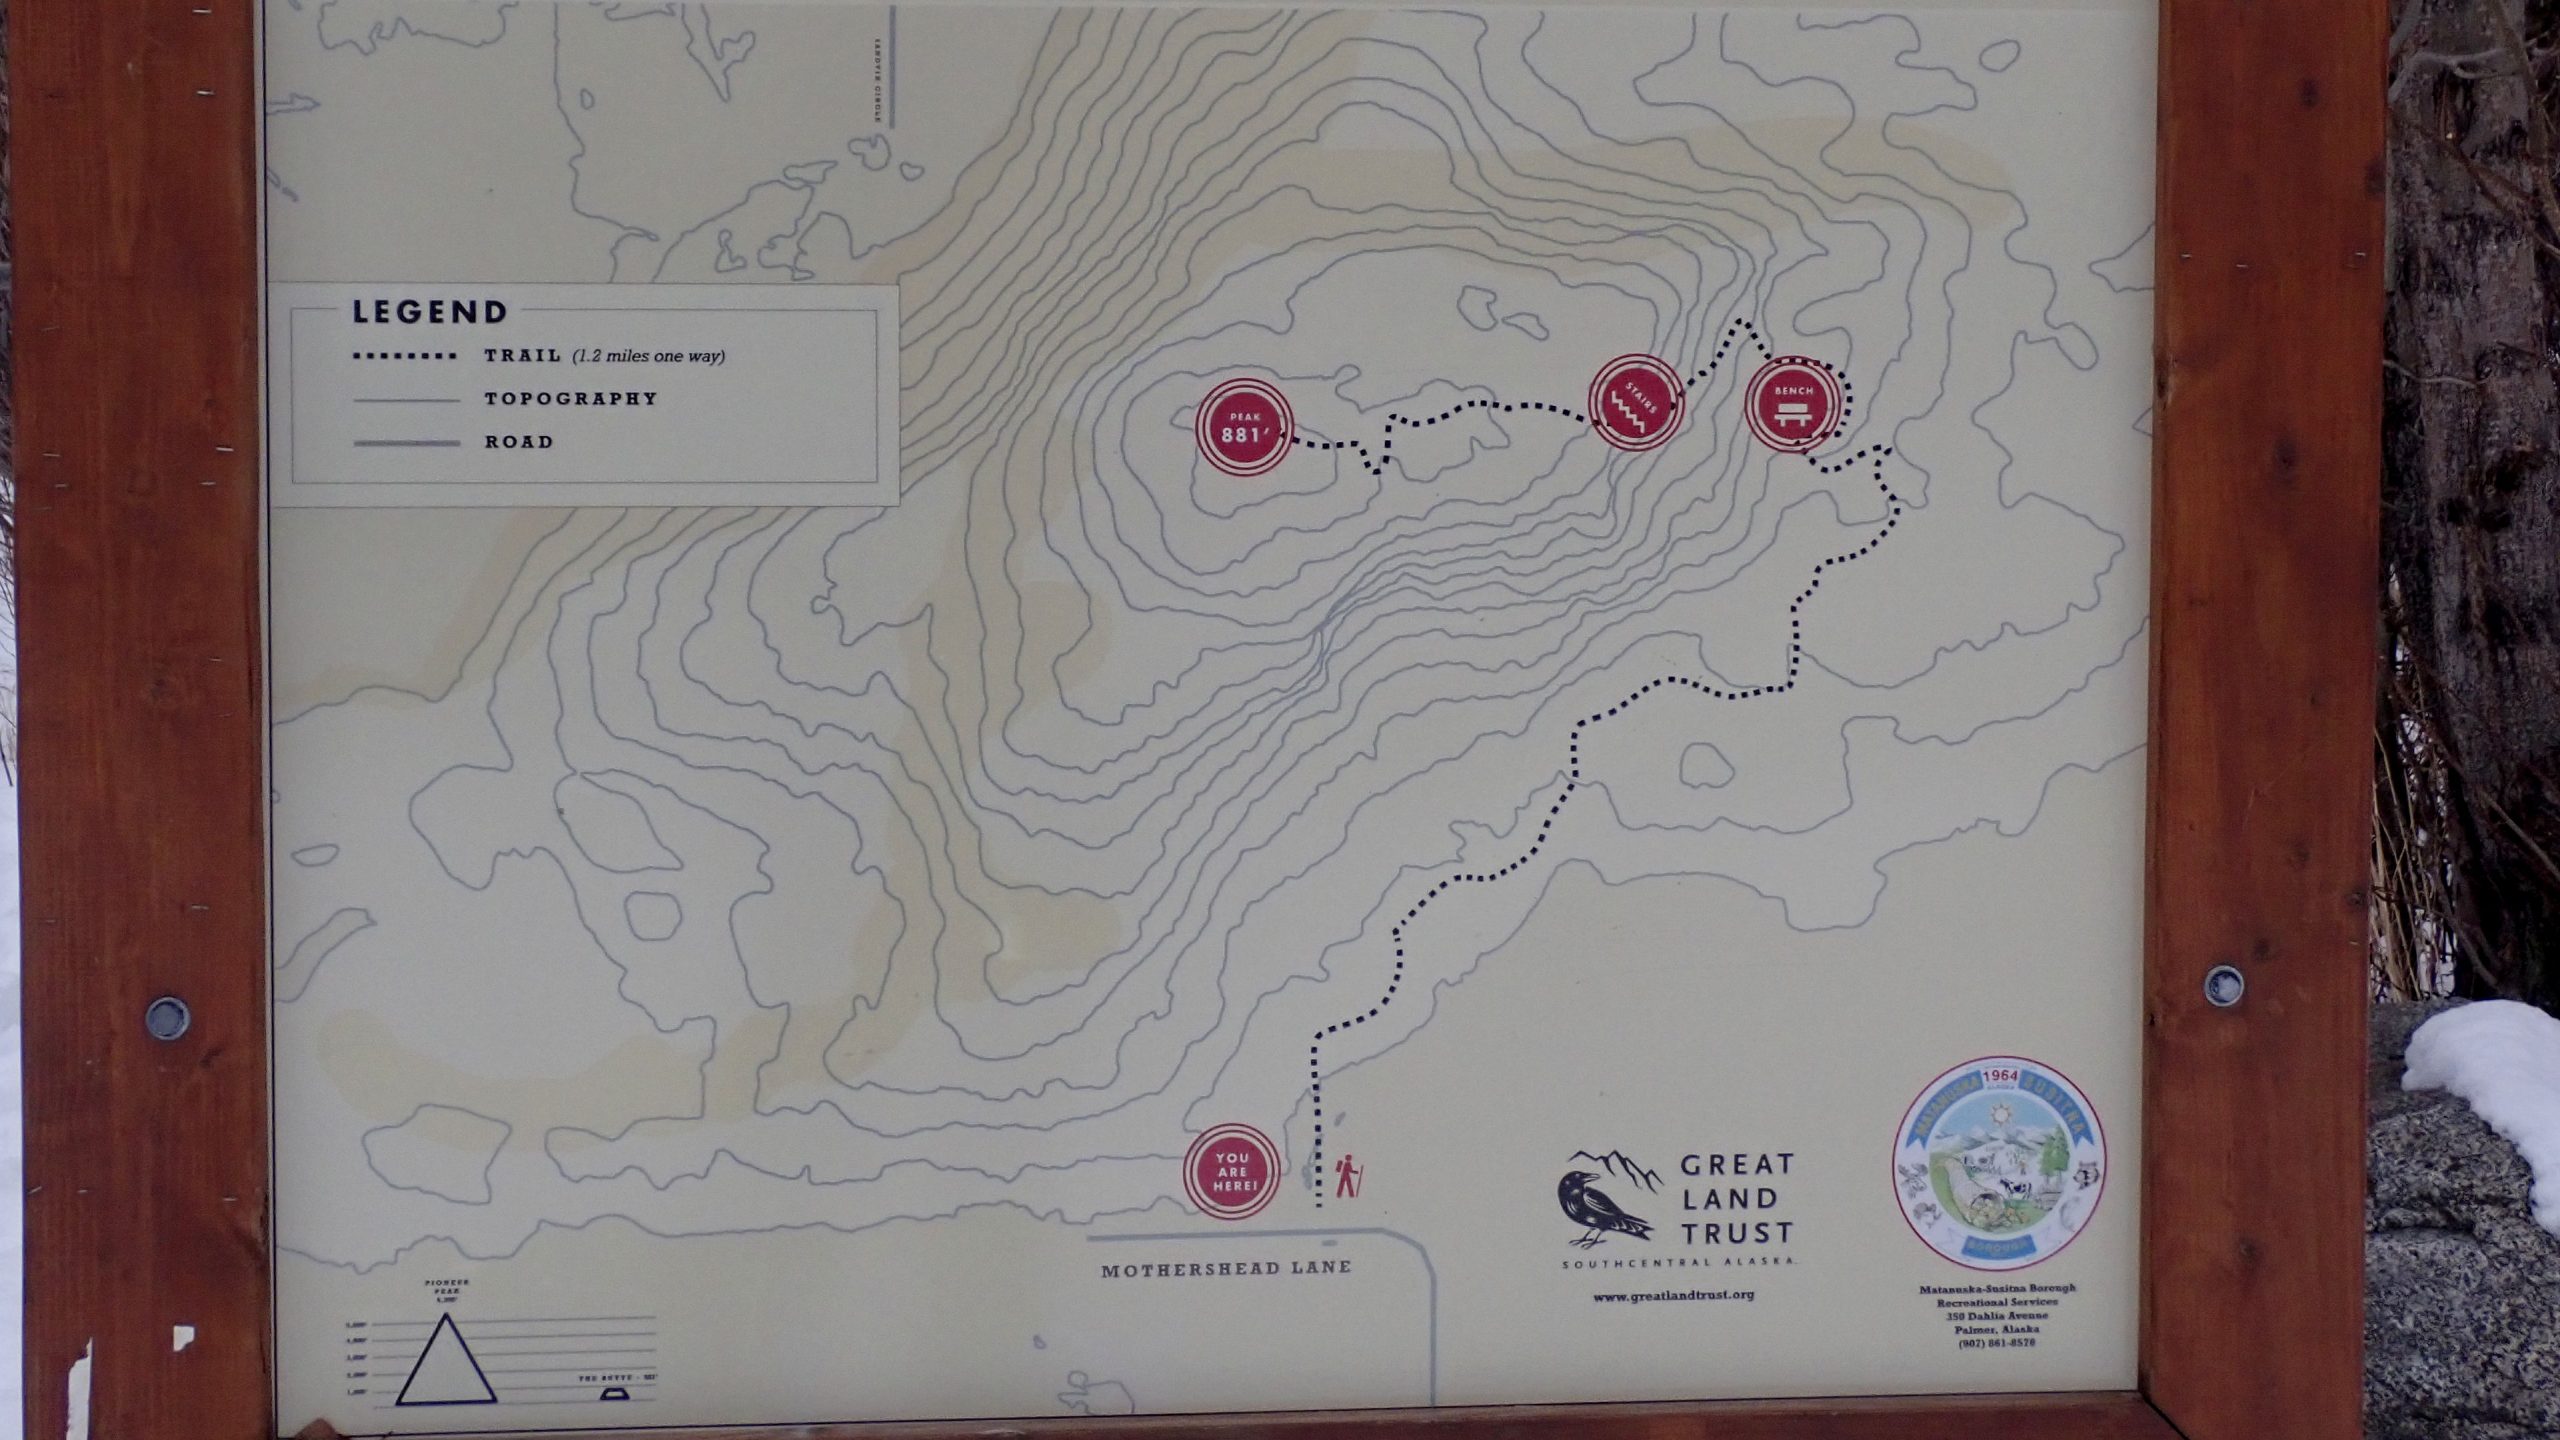
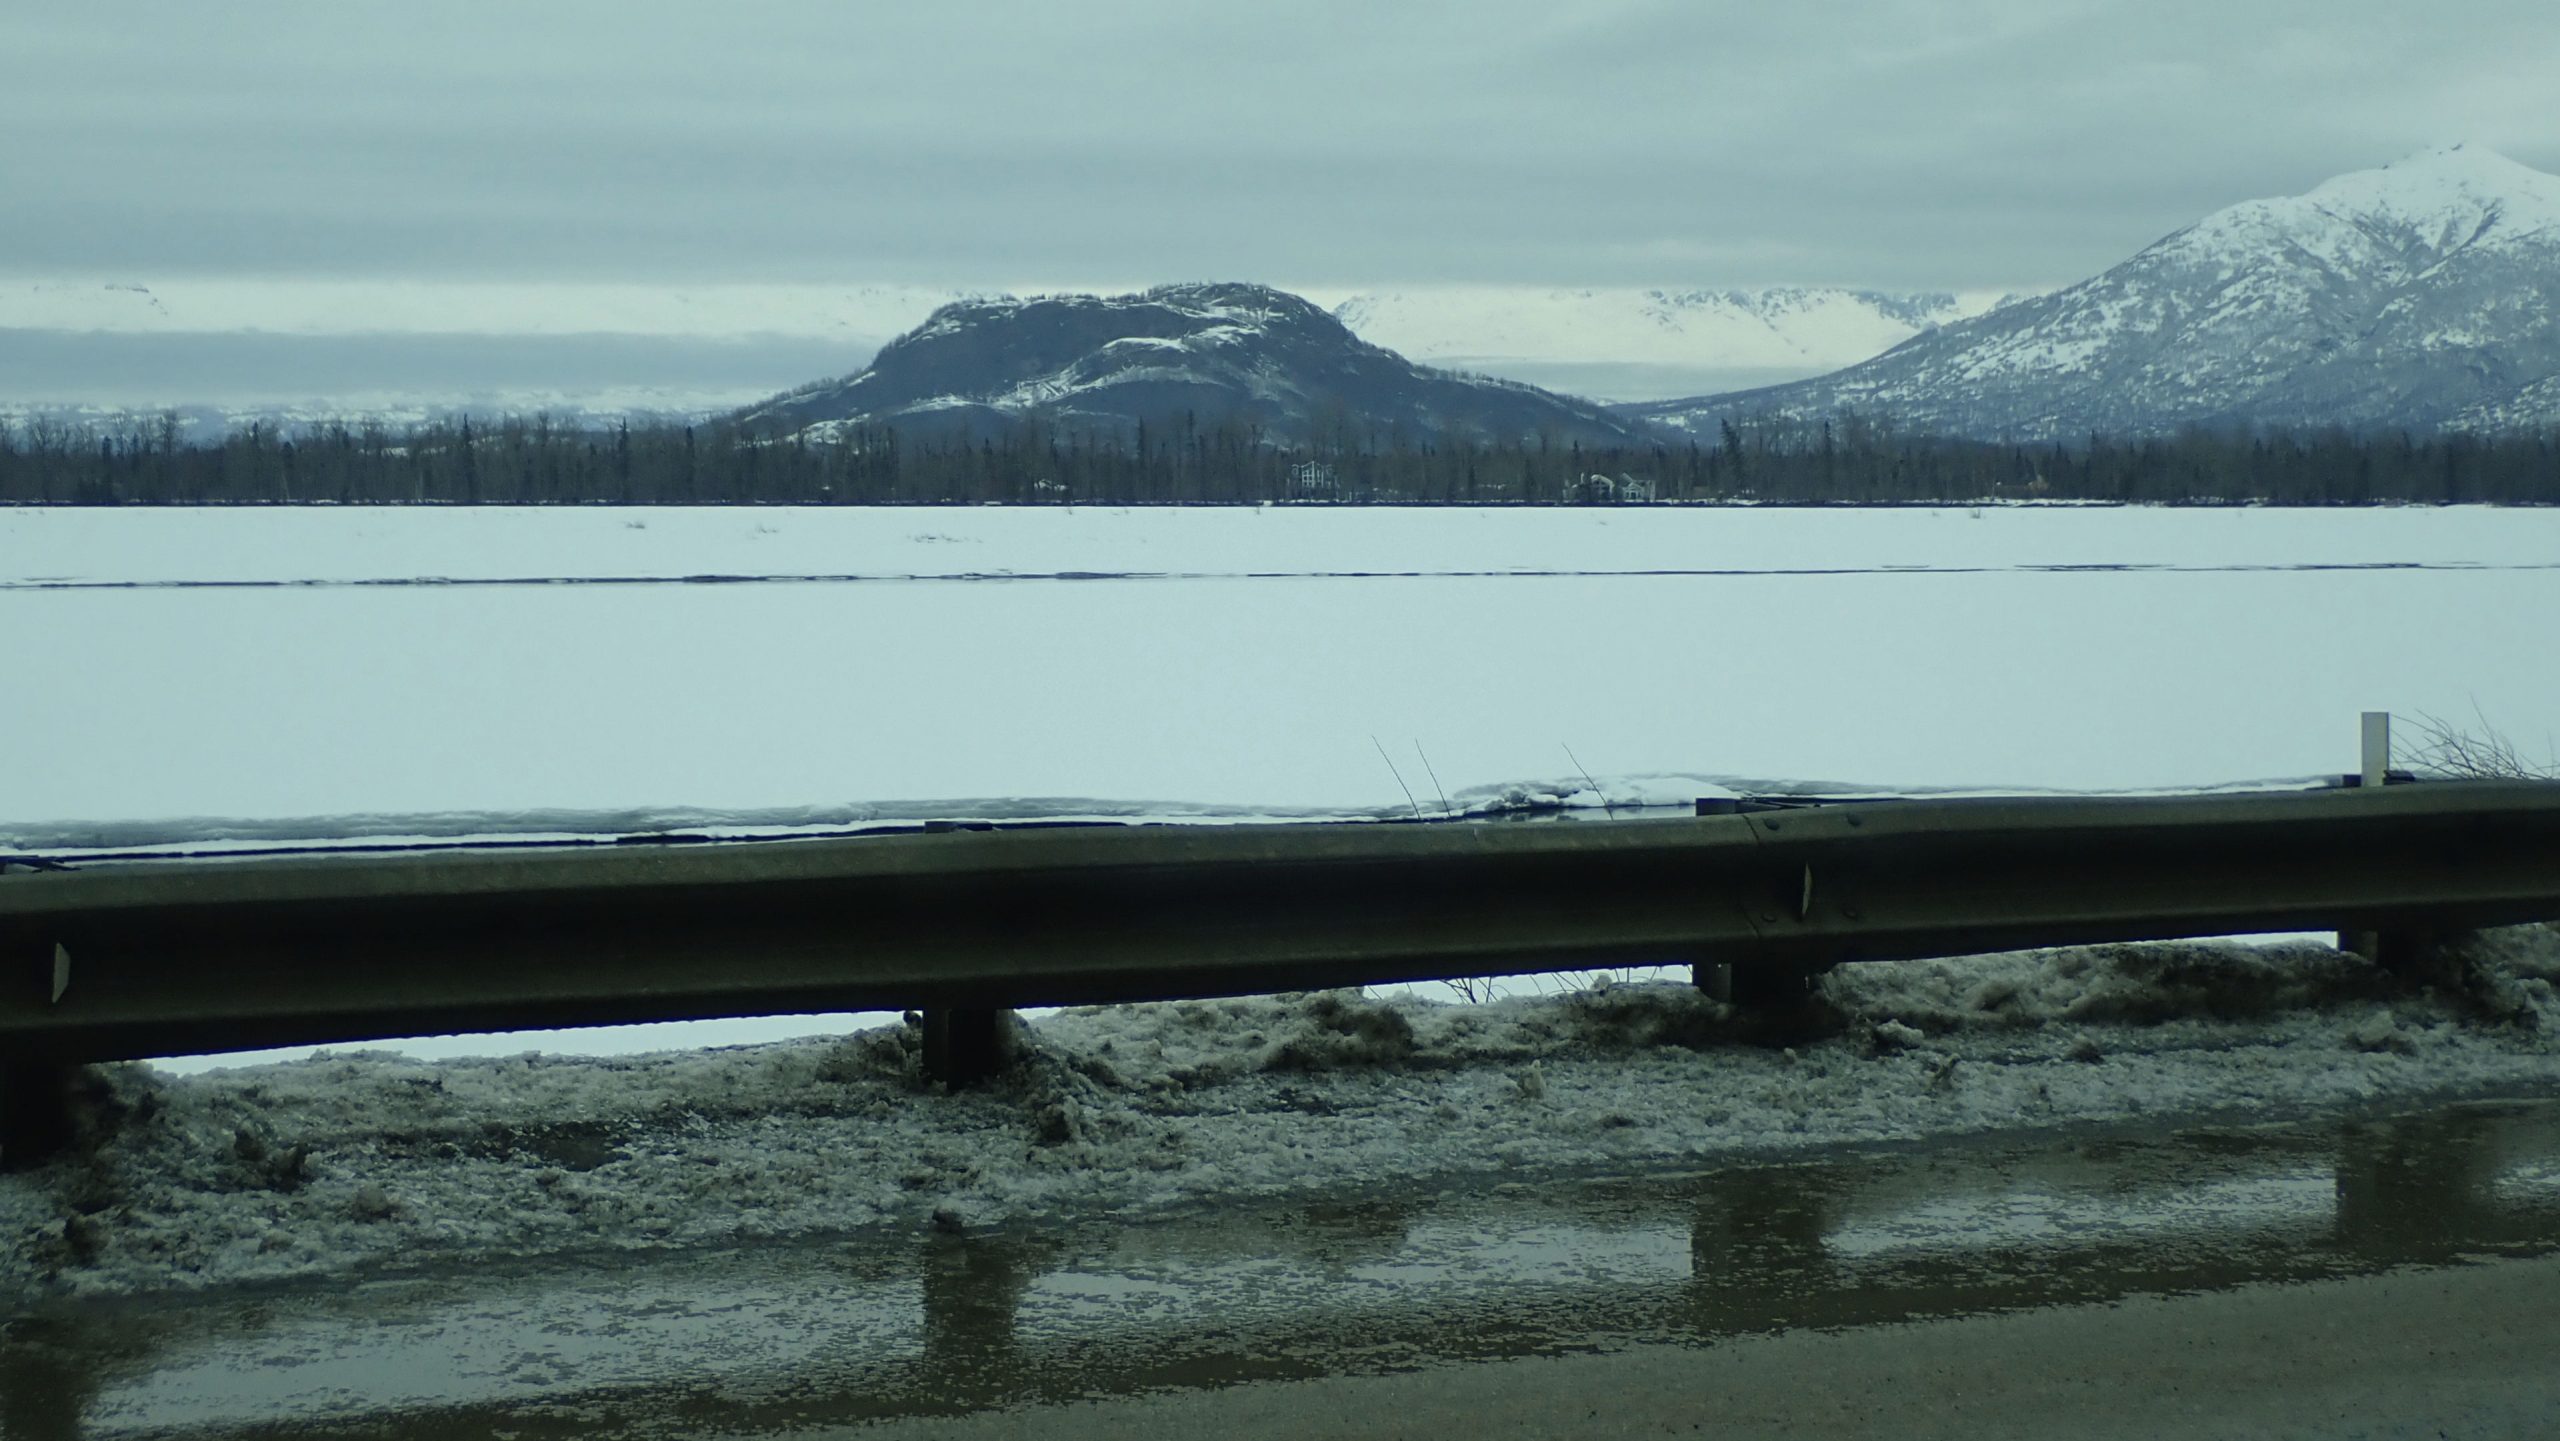
For my first SOTA digital attempt I chose Bodenburg Butte – a small peak just north of the Knik River. This is definitely front-country area, and the trail is easy to follow, even in winter. (I should note though that there are two different trails to the top of this peak. For this activation I took the route that starts on the north side of the peak.)
The start of the trail is flat for a bit, and then you start to gain a little altitude. April in Alaska is usually still quite snowy, and this year was no exception. The weather was mild (for Alaska), but with all the snow on the ground the walk was a little treacherous. Some grippers on my snow boots helped significantly with traction
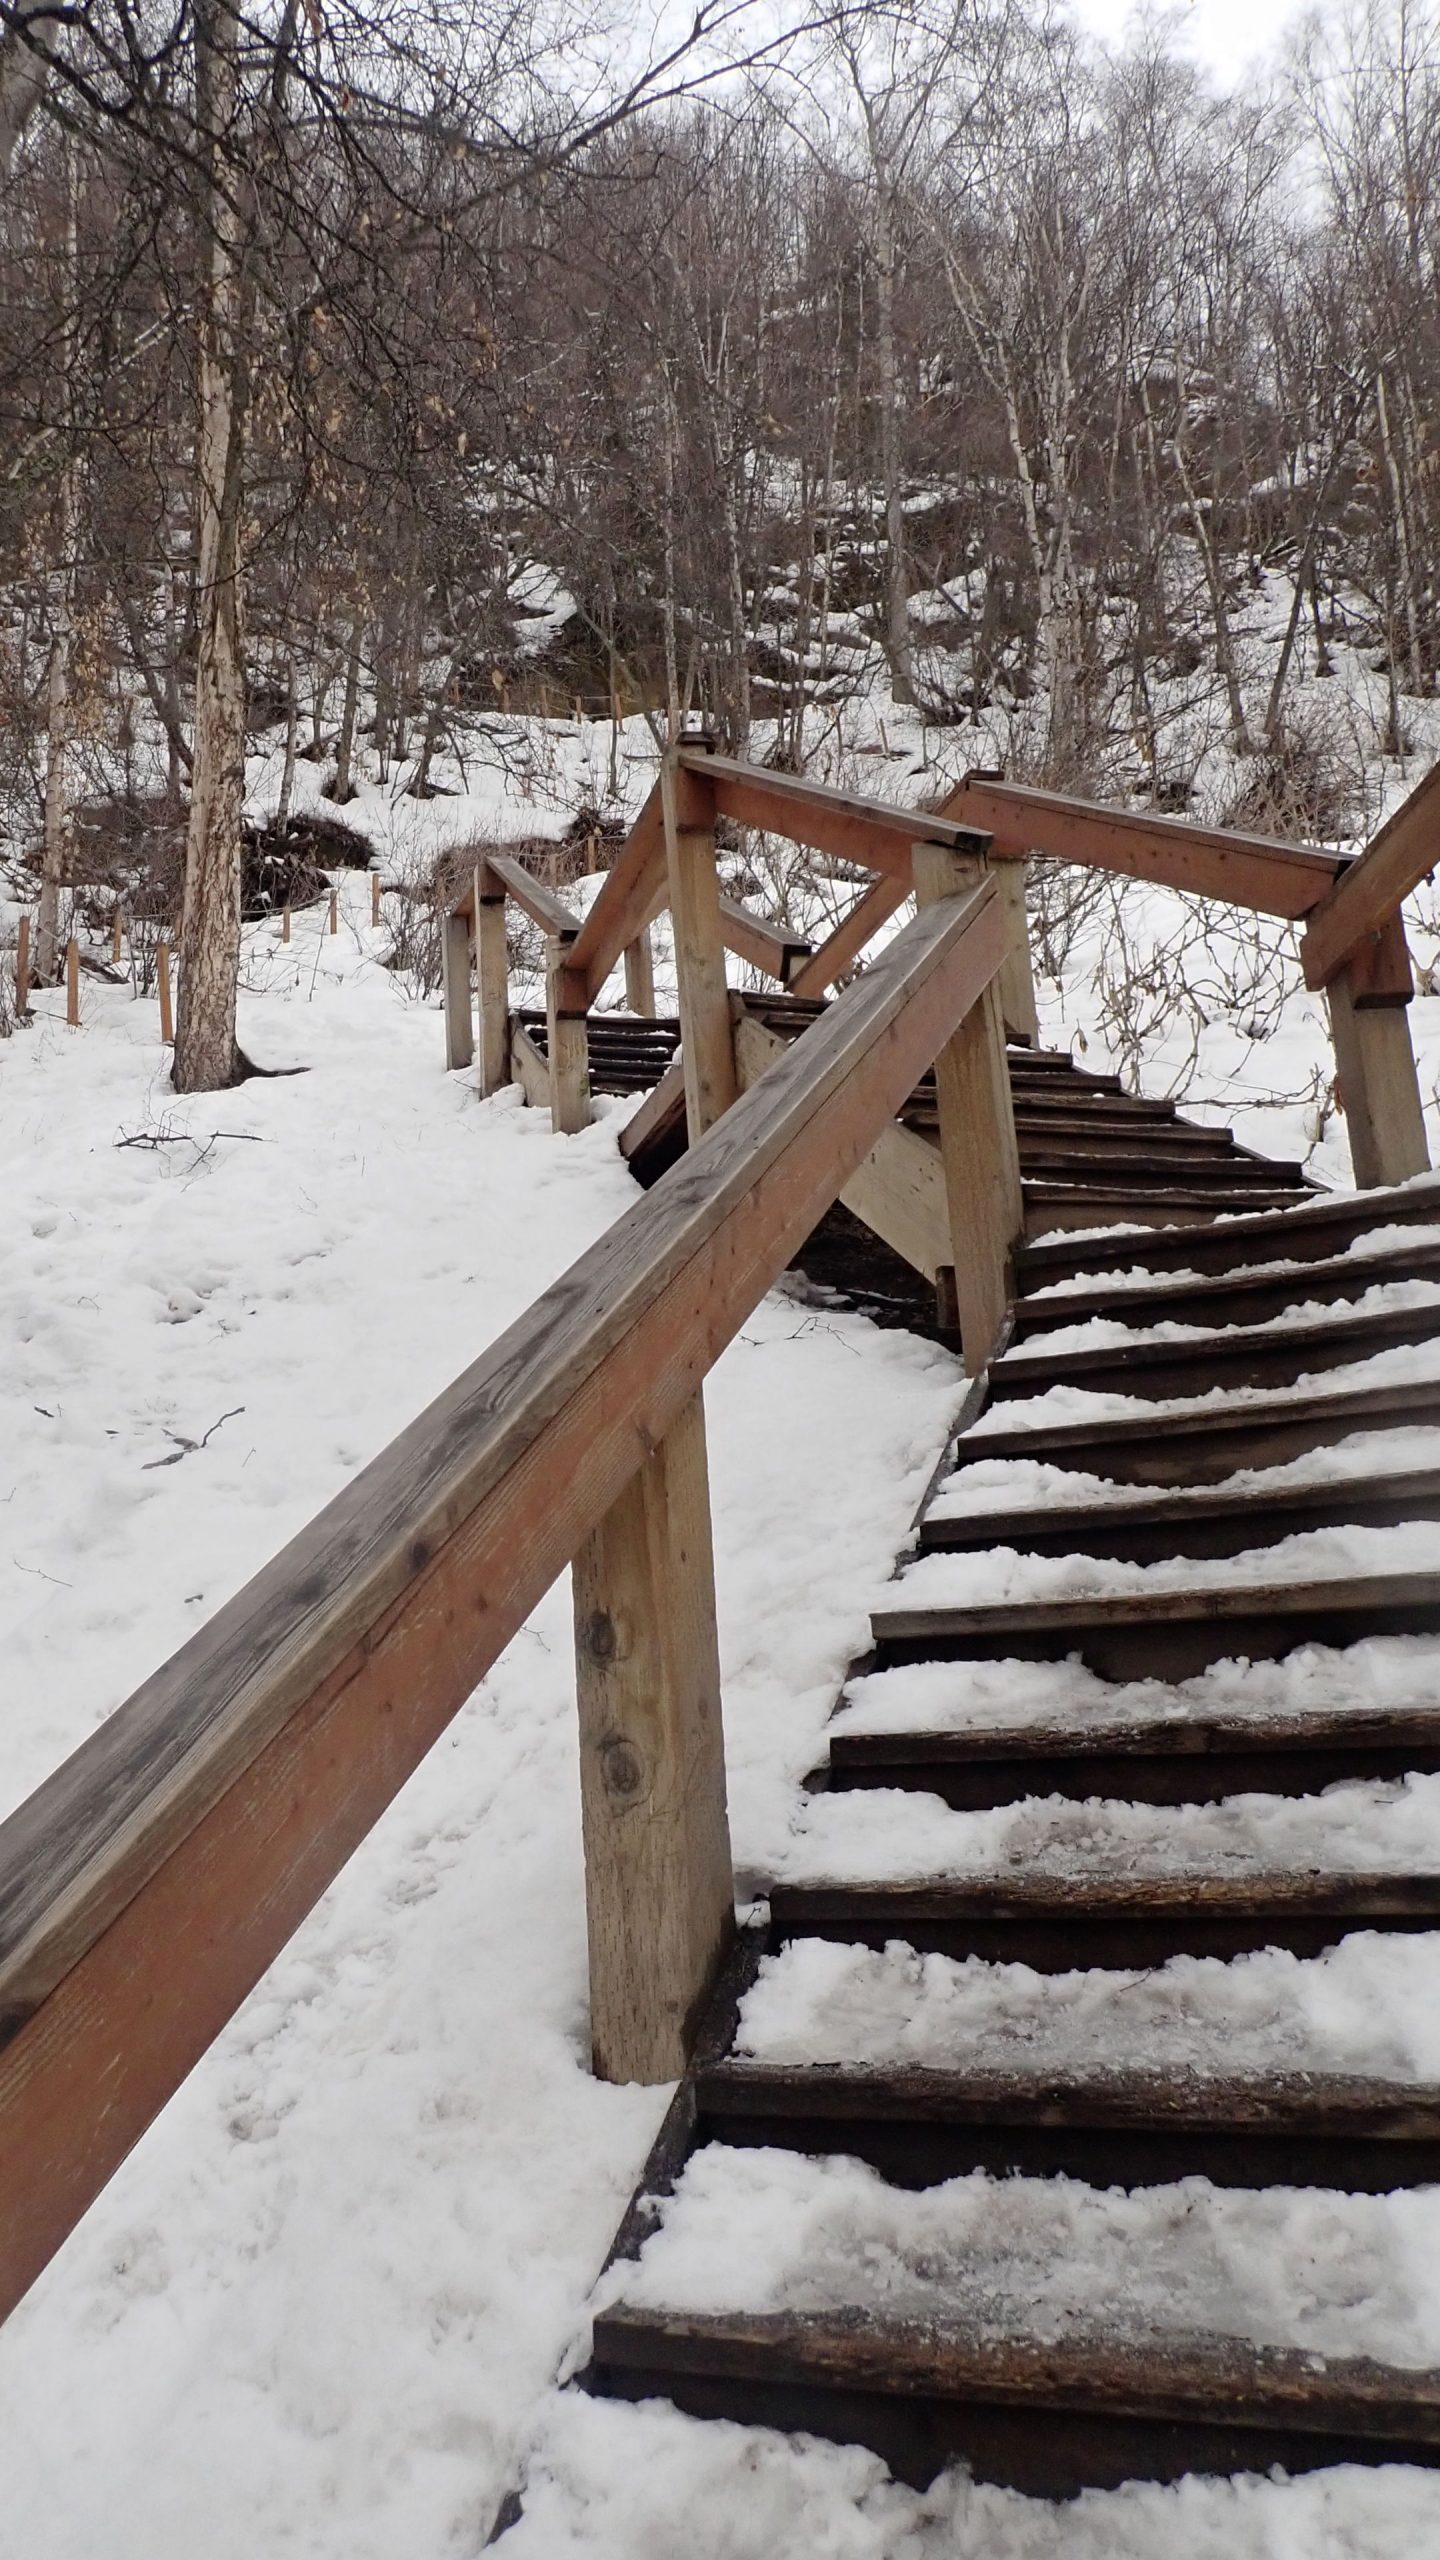
.This is very much a front-country trail and is heavily used by locals. The north side of the peak is pretty steep once you get to the base of the hill. To keep erosion down there are stairs built on the steepest section.
Once the stairs end you are pretty close to the top, which is very rounded and offers a number of good locations to set up a station. The whole peak is basically a giant boulder sticking out of the valley floor, with the top having been rounded off during the last ice age.

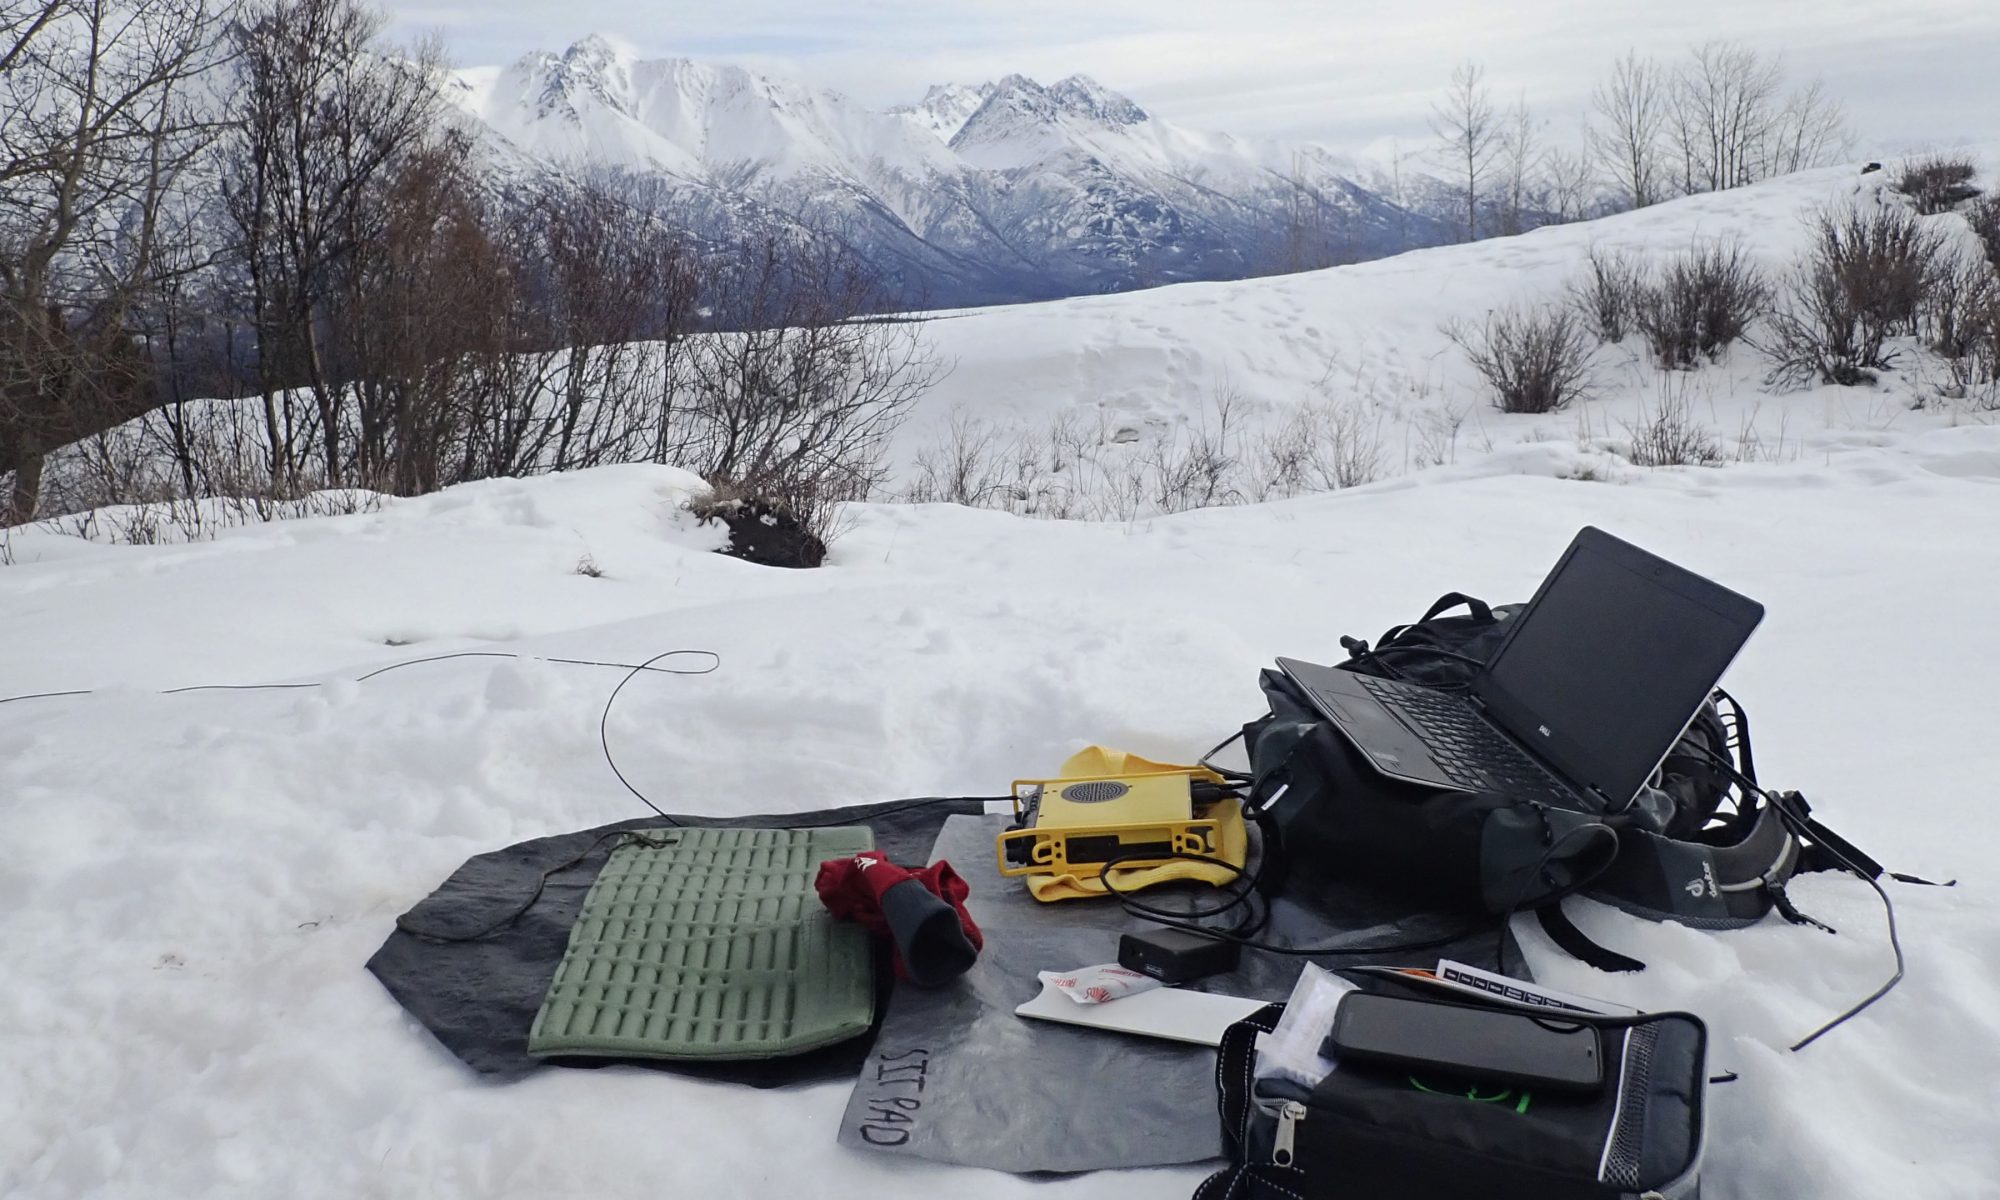
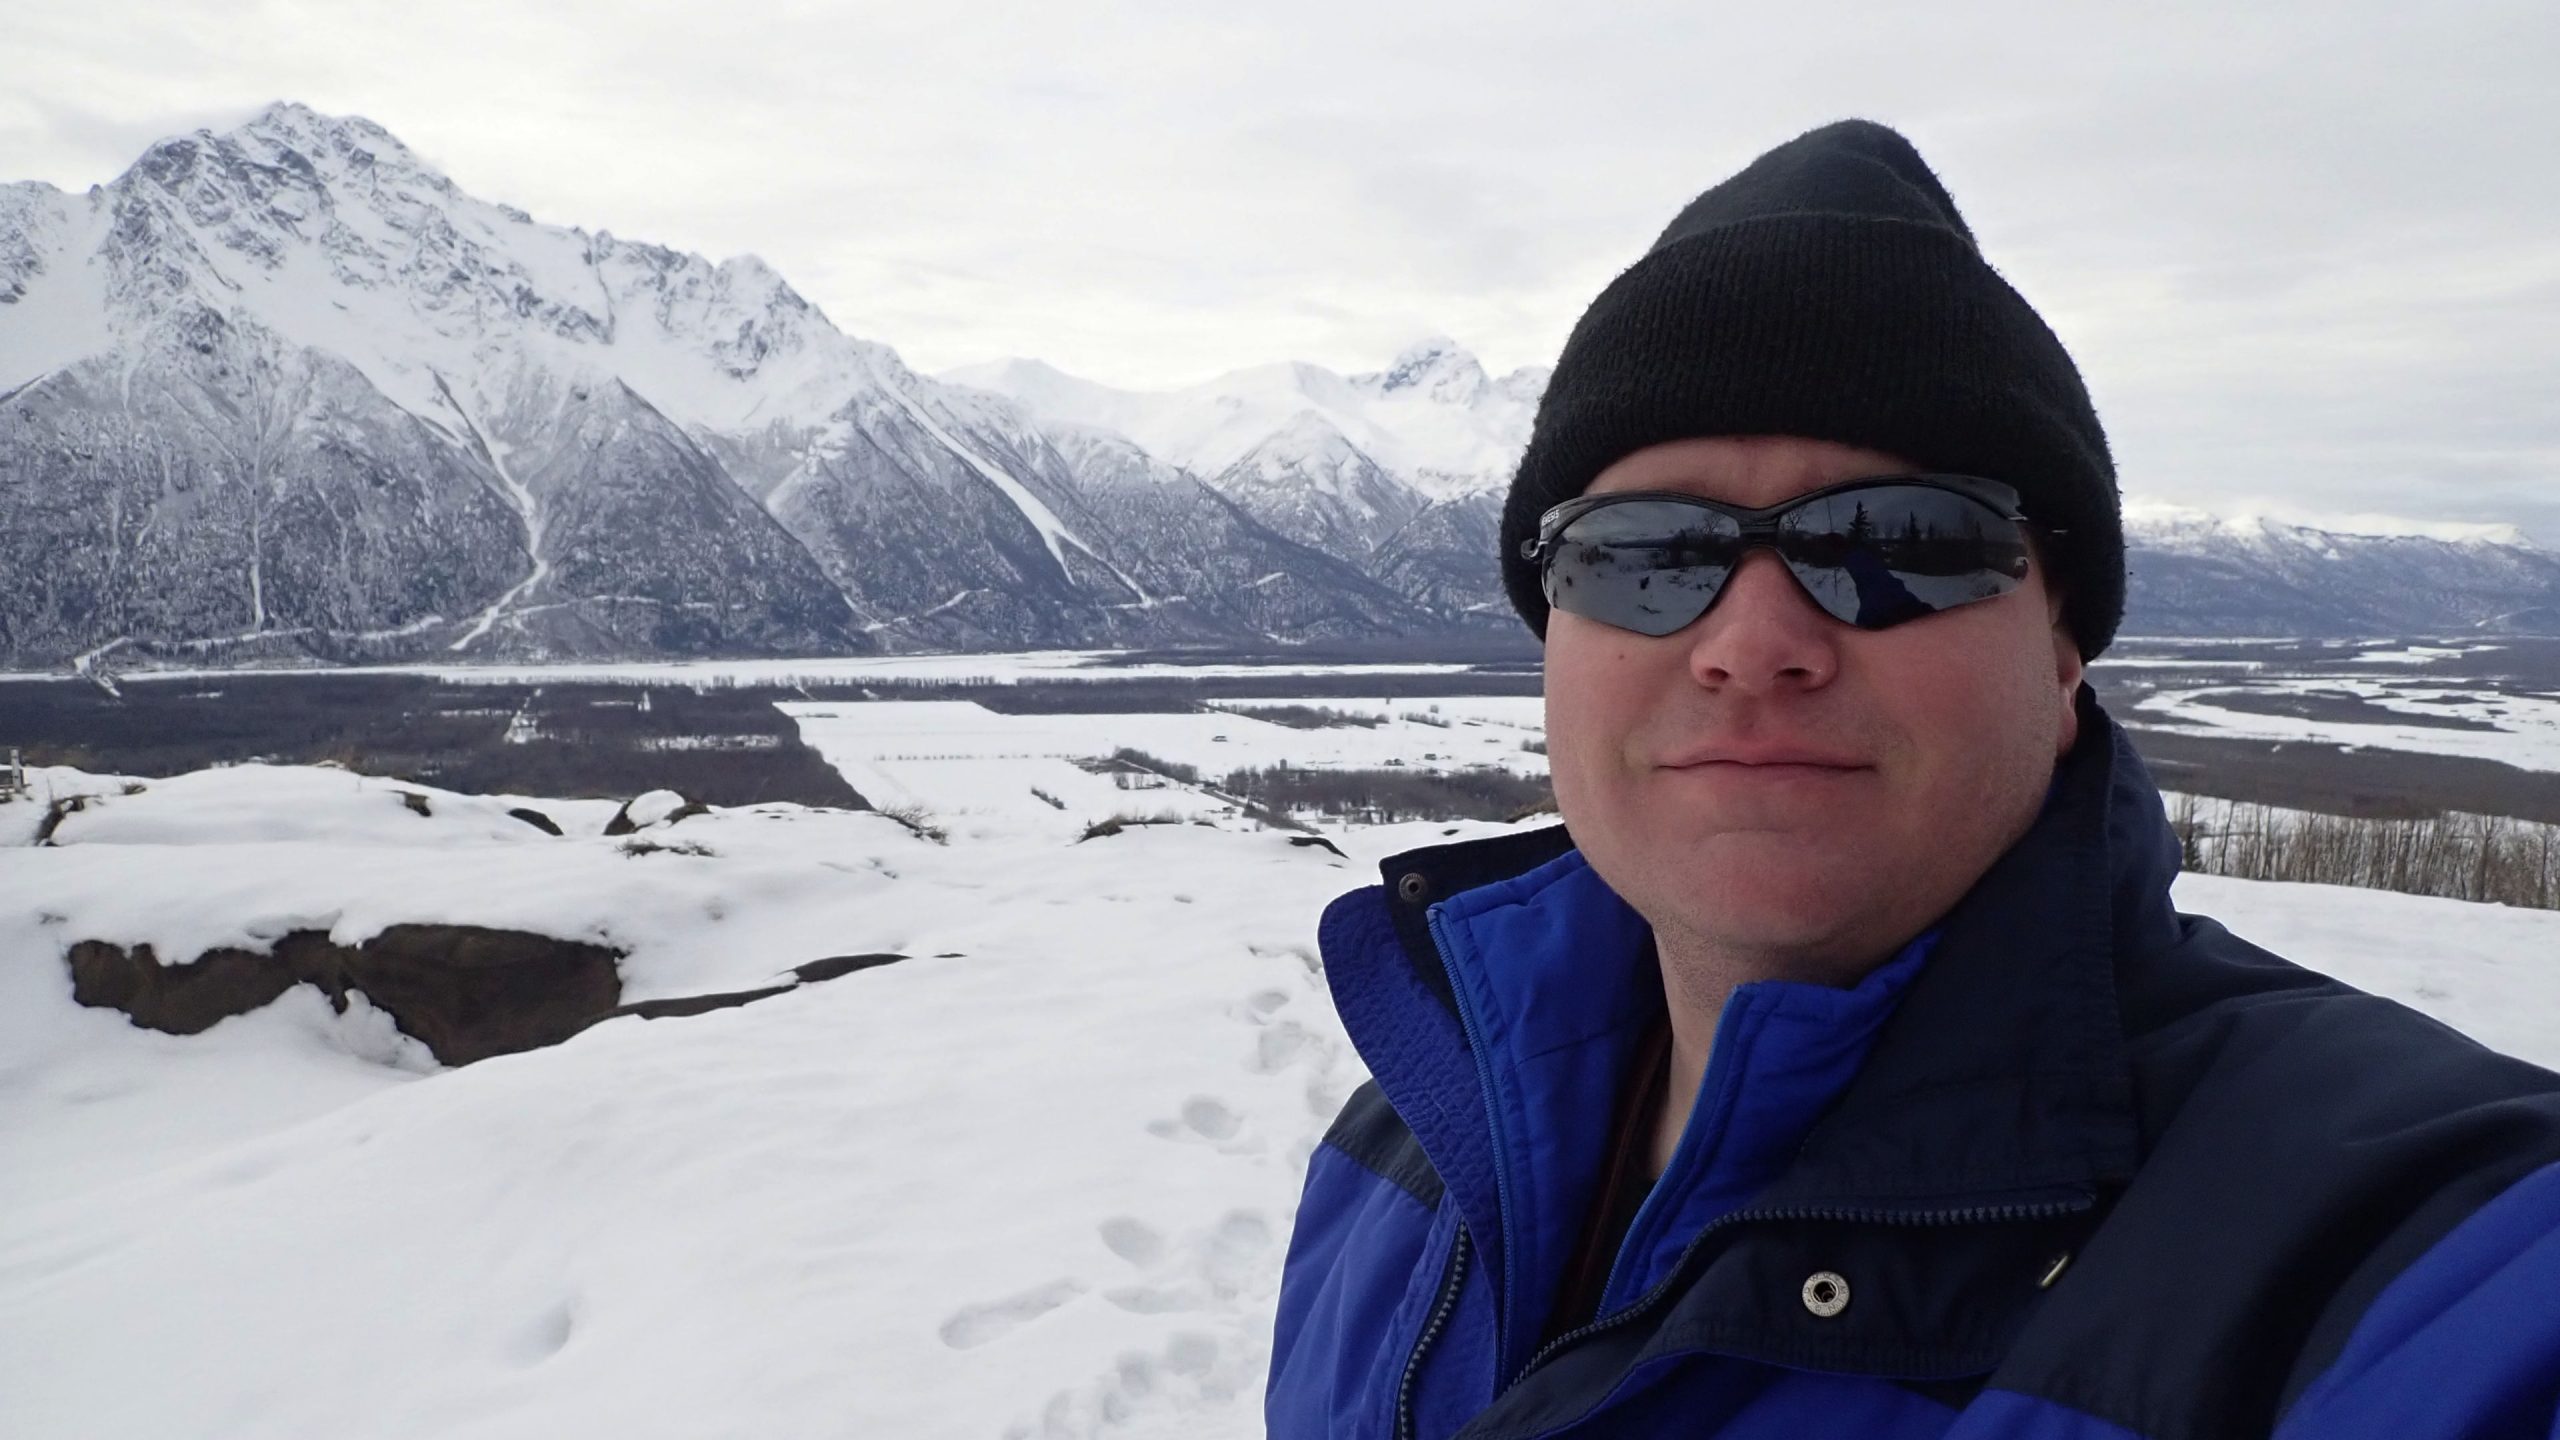
The views from the top were beautiful. I made sure to get an early start on the hike, and so when I summited I was the only person there. The highest point of the peak has benches for people to sit and is generally more trafficked. I elected to set up on a flat-ish area of snow just to the west of the peak.
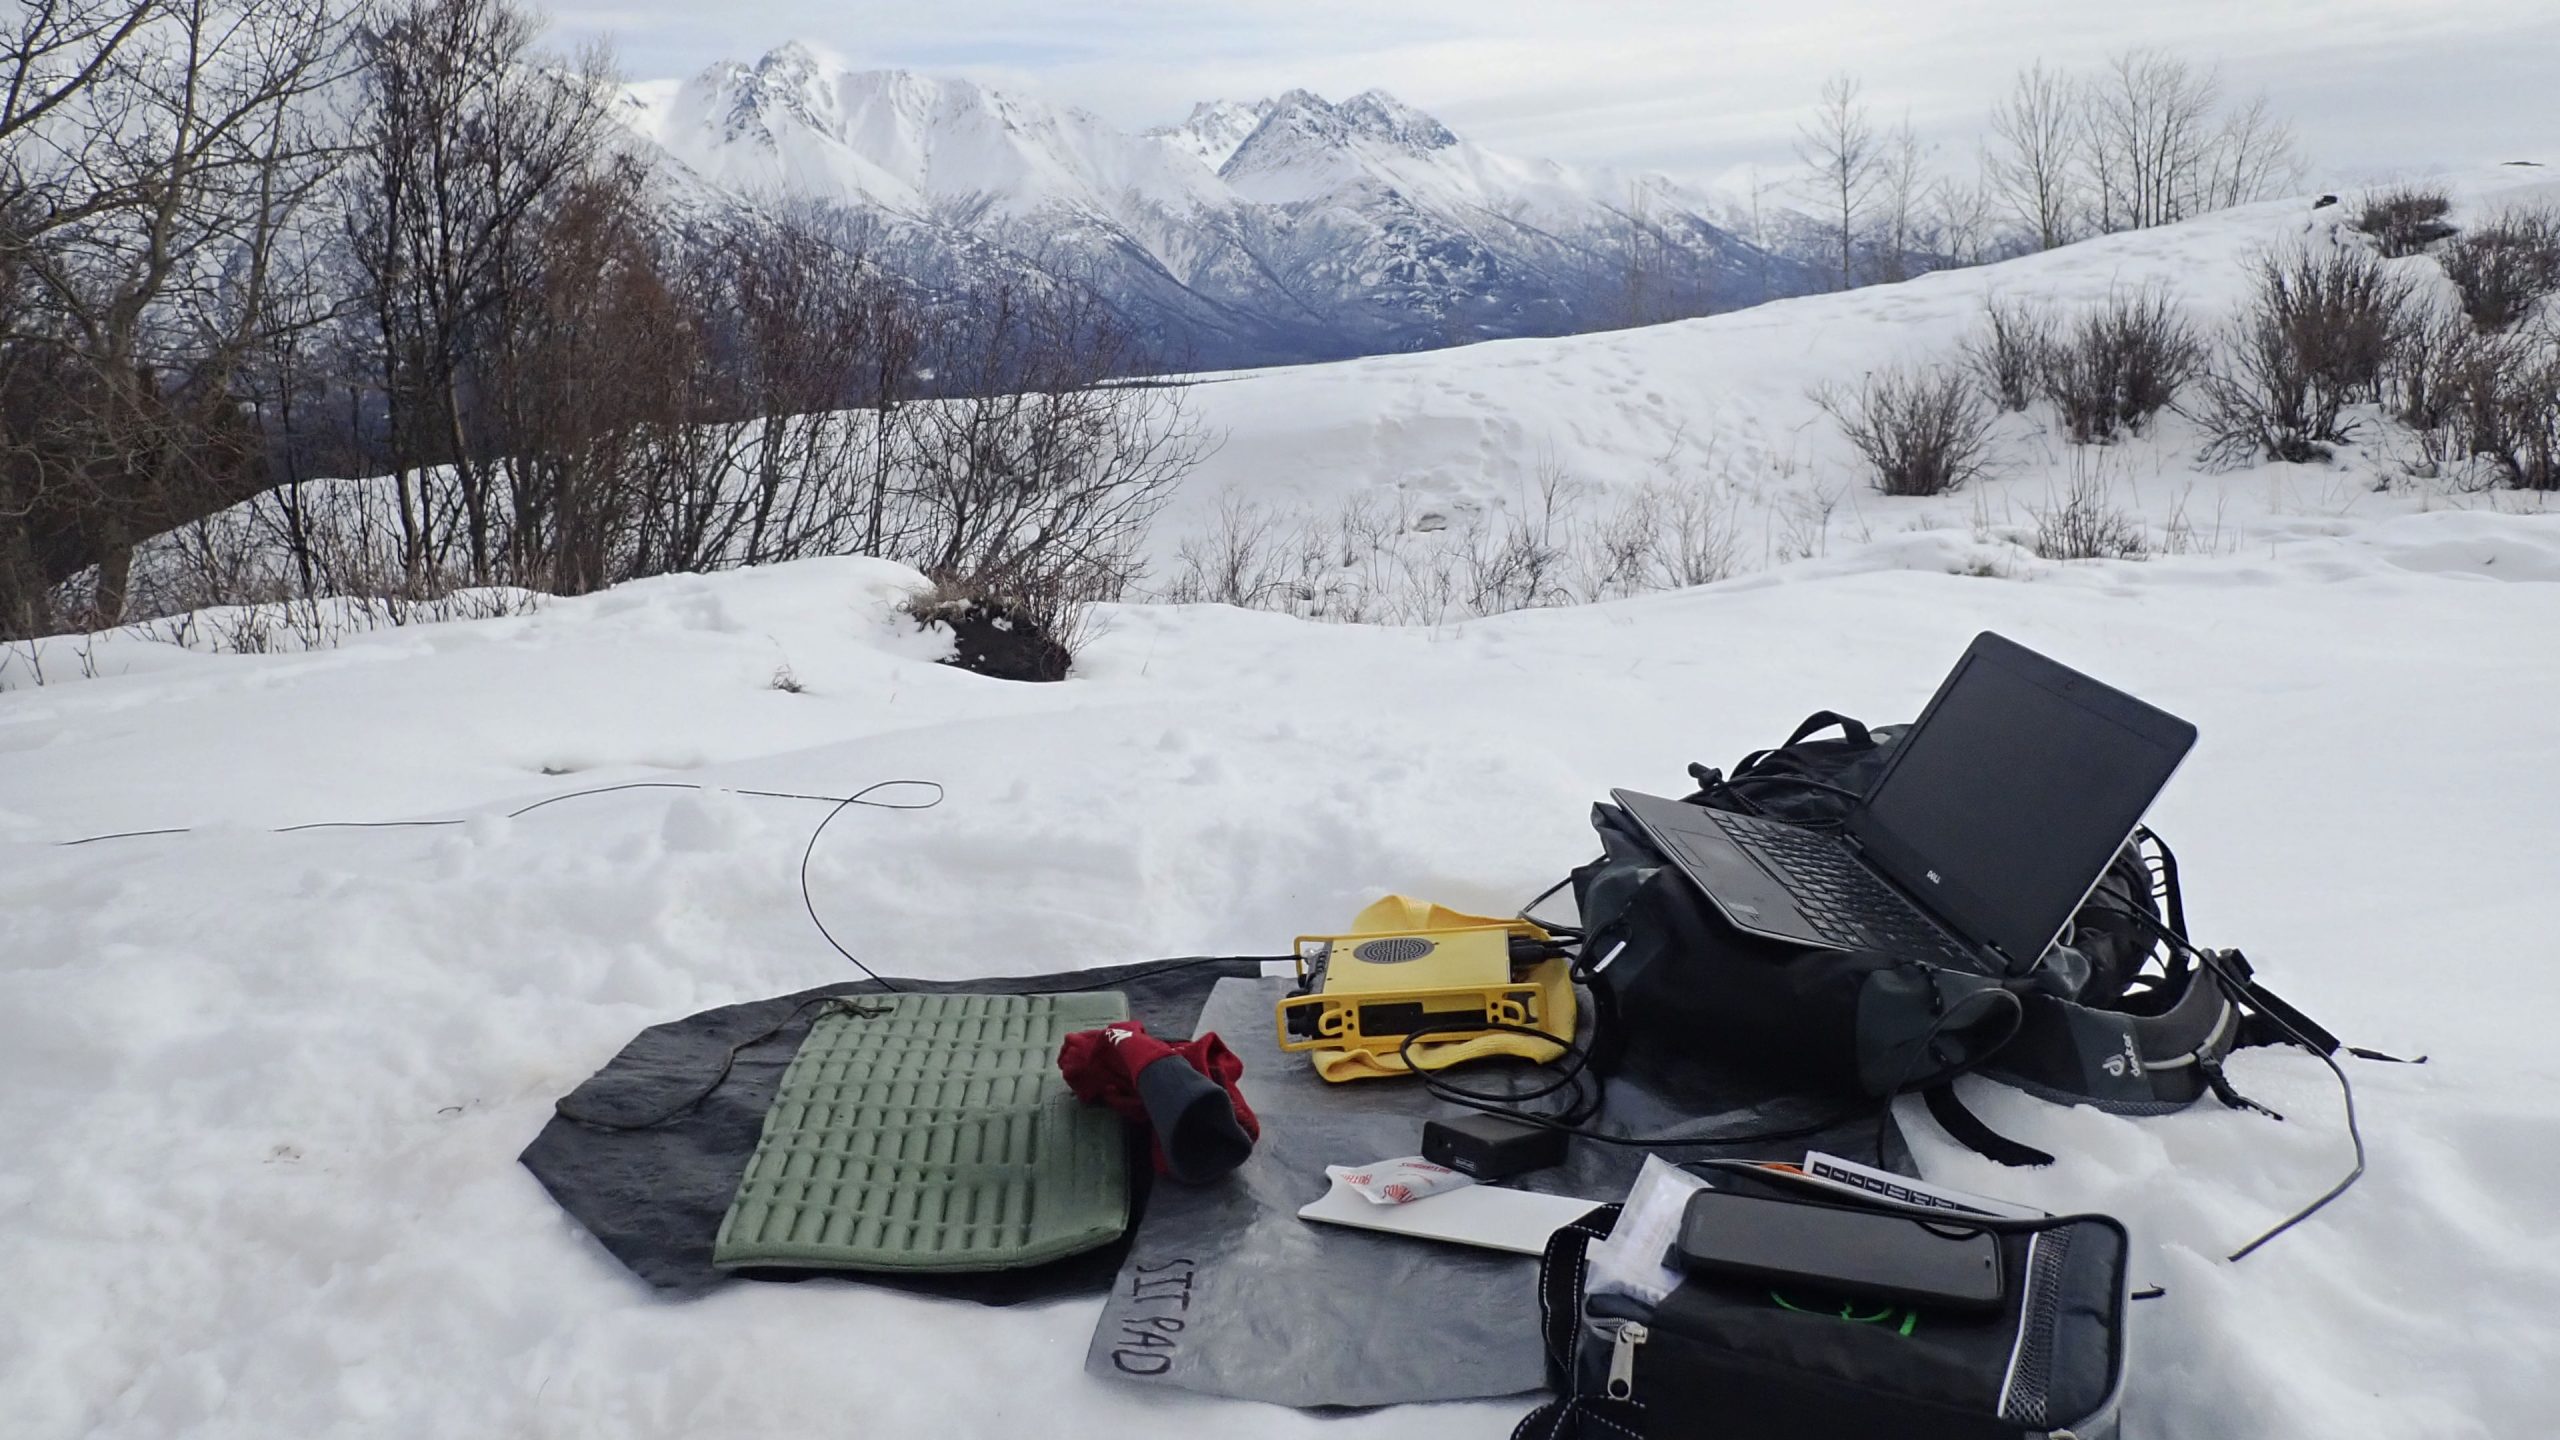
My gear was as follows:
- Mast: collapsible MFJ 1913
- Antenna: Homemade linked dipole (40-20-10M)
- Computer: Dell laptop running windows 10
- Interface: Mini Pro SC
- Radio: Yaesu 817 ND, using internal batteries
Another bit of advice I live by is to always have a backup plan. Since I knew my QRP digital plan might not work I timed the hike to coincide with the Alaska VHF-Up net. This net takes place on simplex and is great “insurance” to make sure I get at least the required 4 contacts for the activation.
The Yaesu 817 worked great, and I quickly had a few 2 M and 70 cm contacts in the log. Activation ensured! After a bit of chatting with the net participants it was time to go over to HF and see if my plan would work.

For this activation I was testing a lot of new (for me anyway) SOTA gear. To keep the number of unknowns down I elected to stick with a reliable antenna. My linked dipole is a homemade design that is cut for 40 meters and 20 meters. If you want to build a similar one you can use the calculator on this website. The other advantage is that this is a full-size antenna, rather than a compromise design. When running QRP you need all the efficiency you can get!
I raised the antenna on my MFJ 1913 fiberglass mast. One advantage of snowy activations is that it makes it easy to set up the mast – simply plunge the base into the snow and you are good to go!
Initially I had some trouble making sure everything was working. For some reason it seemed I was not getting power out during the FT8 transmit cycle. (the power meter on the radio was not showing output.) I had adjusted the audio levels while testing at home, so there should not have been any issues. In any case, after some adjustment of audio levels I was back in business.
After a while contacts started coming in. One thing that became painfully clear about FT8 is just how slow it is. FT8 is considered “fast” in relation to some of the other WSJT modes, but it is still very slow in practice. Also worth noting is that this is a 100% duty cycle mode, so even at QRP power levels you are spending a lot of watts for each contact.
I was prepared to stay at the peak for a while, so I was fine. But the slow speed of this mode is something to keep in mind when planning your own activation. You need to be dressed for an extended stay and have some snacks and water on hand.
By the end of the activation I had burned through both of my Yaesu batteries , but it worked! Even with the low power radio I made a number of contacts to the lower 48, including a few SOTA-specific chasers. Some lessons learned from my first FT8 activation:
- It works! Just be sure to test your gear at home before taking it into the field.
- Bring batteries . . . lots of batteries.
- Have a backup plan. Even though I made more contacts over HF than on VHF, it was still a big relief to have the activation secured before testing the digital setup.
- Digital modes can be used successfully for Summits on the Air. You have to pay attention to the weight and bulk of the gear, but it can be done.
- Change as few things as possible with each trip. On this activation my mast, radio, and antenna were known quantities. When troubleshooting at the peak I could exclude all of them.
Never be afraid to try new things, and don’t let others tell you that something cannot be done. You would be surprised at what you can accomplish when you really apply yourself to the problem.
updated 2022-05-14