
At some point you will be feeling confident with VHF-UHF activations, and that’s when you will start to wonder, “what’s all the hype about HF?”
Or, maybe you’re considering activating a remote peak, a distant island, or a faraway park, and you realize that VHF won’t have enough reach to do the deed.
That’s when it’s time to put together an HF station for SSB voice use.
Learning curve
In theory, field operating on HF with SSB should be no more complex than using VHF/UHF, right? After all, it’s all just radios, antennas, and radio waves right? Just different gear?
In practice you’ll find that an HF station actually is a bit more difficult to run.
An HF station requires larger antennas, some kind of support to keep them in the air, a bulkier radio, and almost always needs a bigger power supply. The non-channelized nature of SSB operating means that it also takes some practice.
So how do we put it all together? What I’ve found is that the key to having fun with HF is to have a system.

System building
Let’s break down what is required for a functional HF voice station:
- HF radio
- Portable power supply
- Antenna sized for the HF band (or bands) of your choice
- Some kind of mount, mast, or support for the antenna
- Coax run that gets you away from the antenna
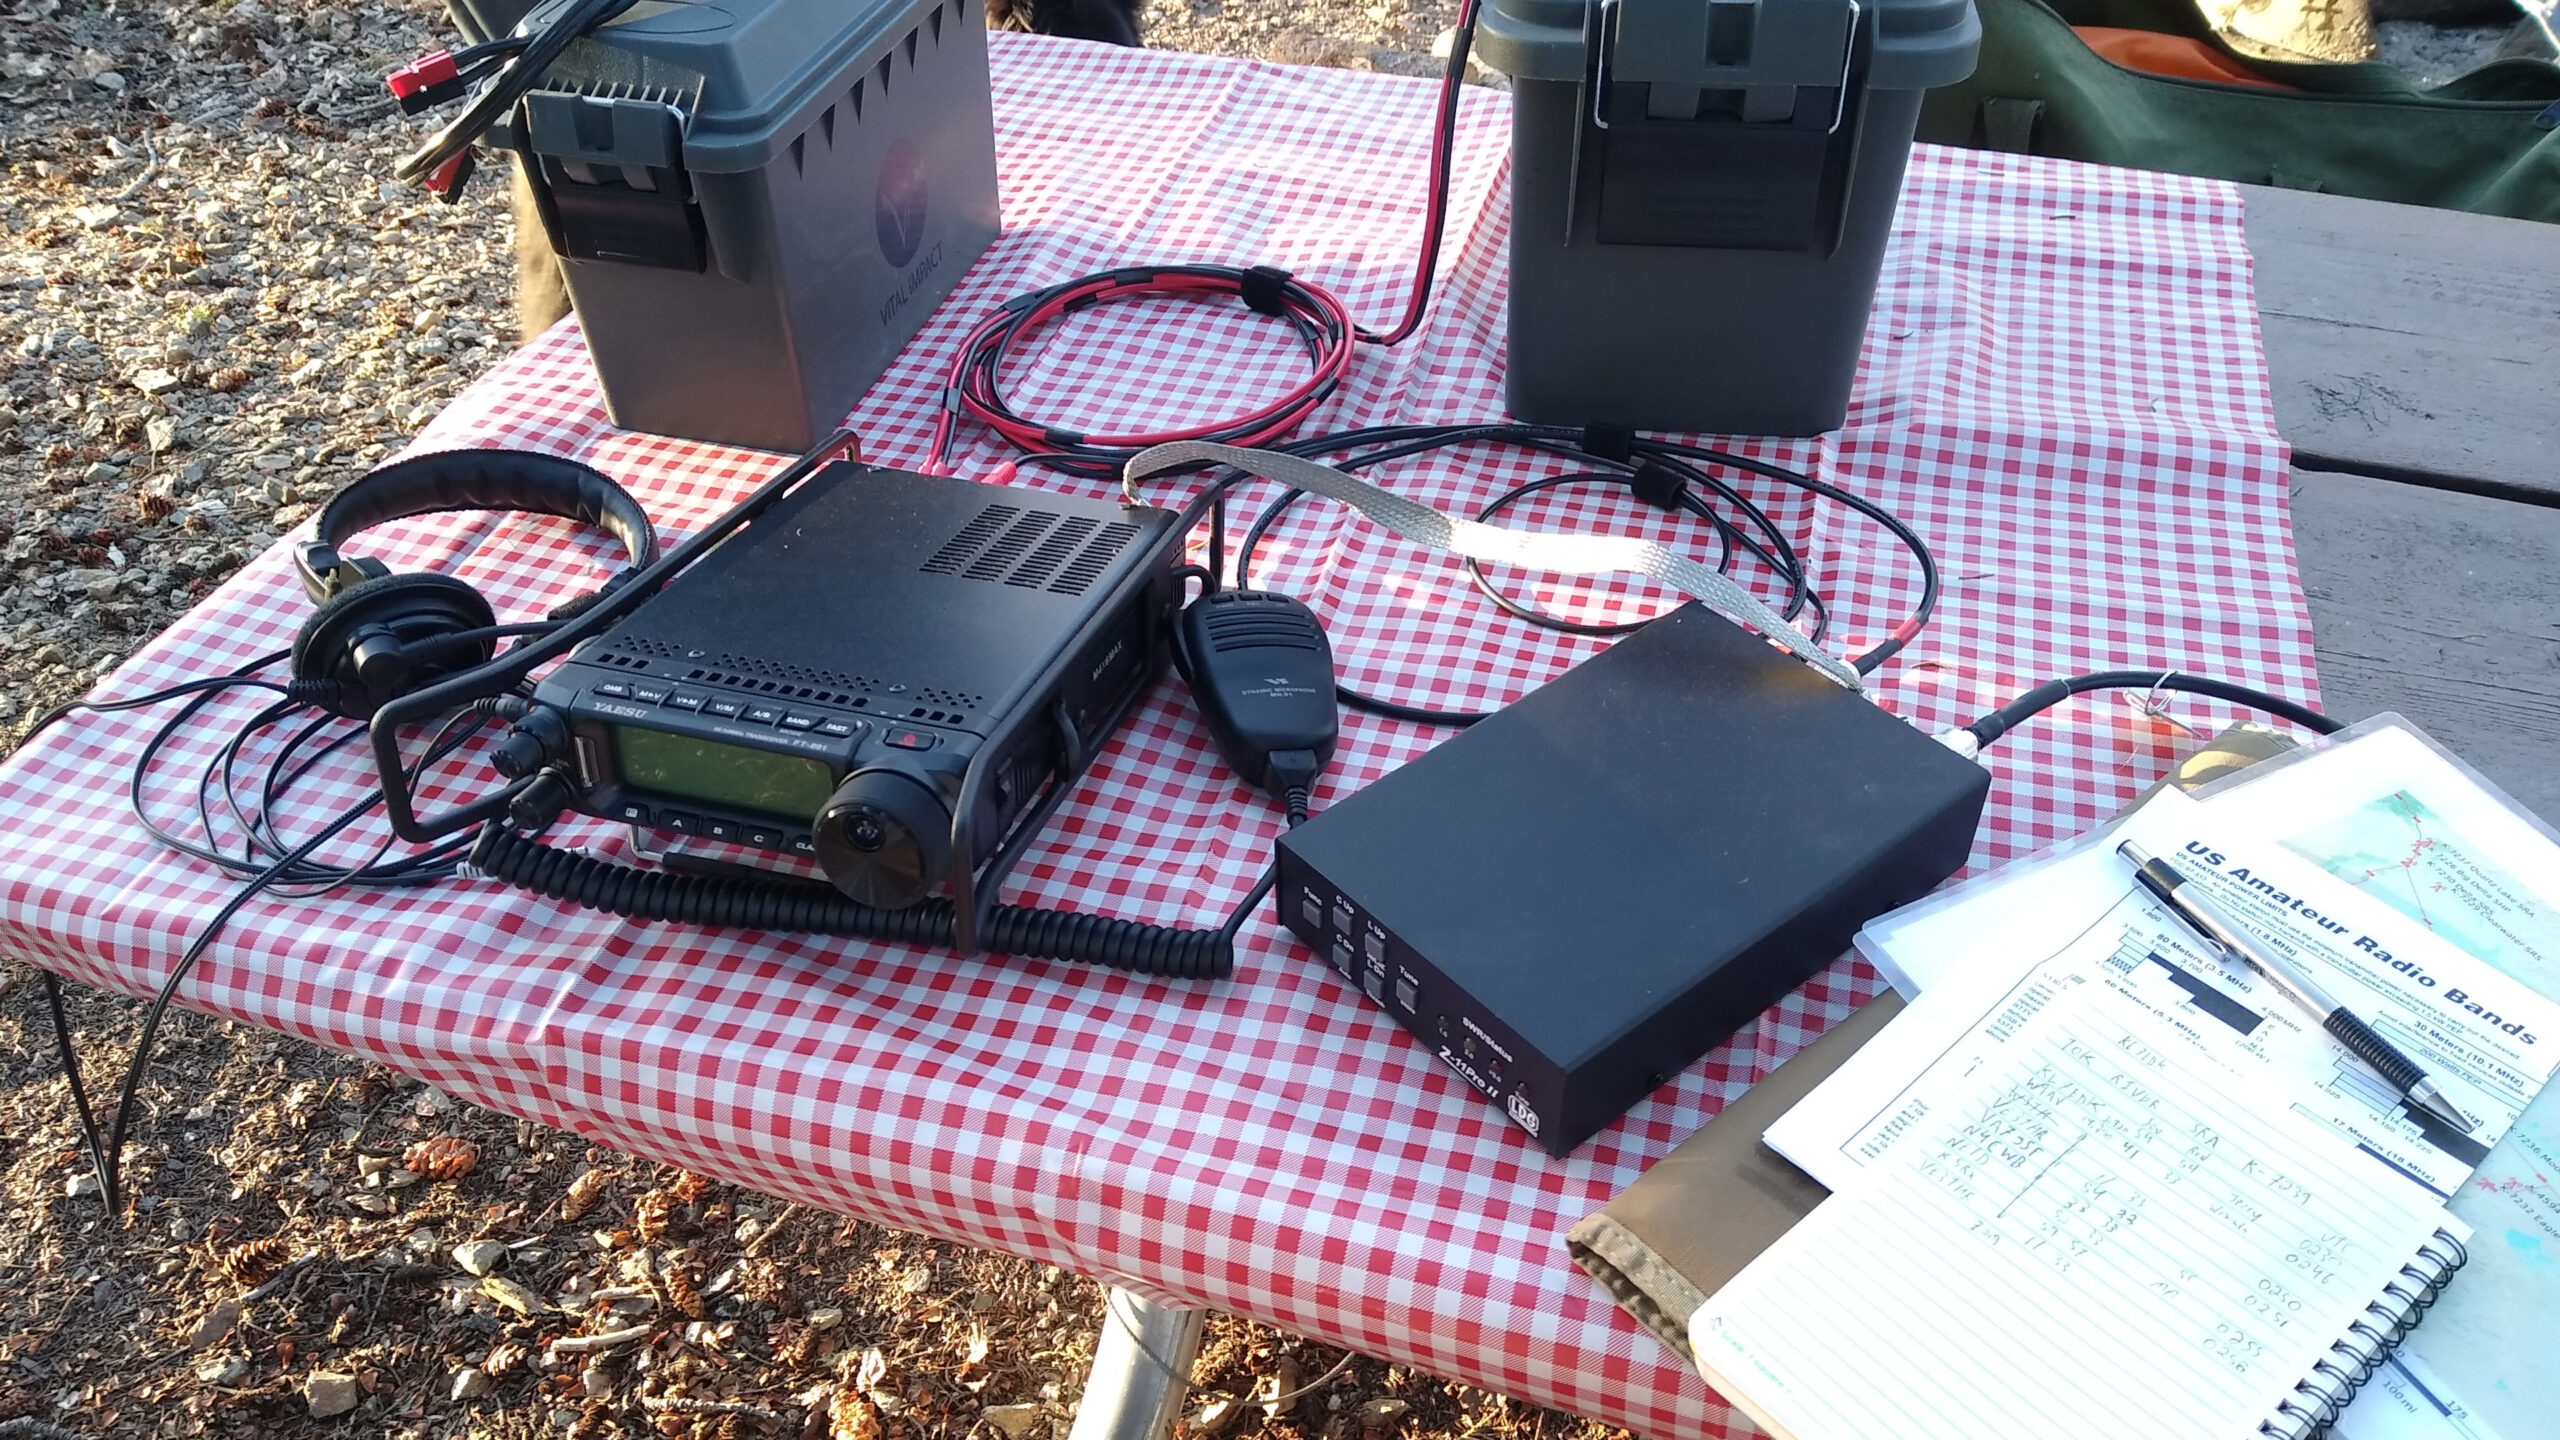
Other gear that is optional might include a tuner, headset, computer or mobile device for logging, and backup antenna (or separate antenna for another band or bands).
Let’s look at the critical components one by one.
Radios
Your choice of radio is really only limited by how portable you want to be. As the saying goes in the automotive world, “how much speed can you afford?”
If your style of activating is going to be what I call vehicle-portable then pretty much any radio will do.
The most practical vehicle-portable type radios are ones intended for mobile operation. Examples would be the Yaesu 891, Icom 7100, Yaesu 897, or Yaesu 857. Mobile HF rigs like these are reasonably compact, have modest power requirements, can be easily set up on a park bench, and have a lot of transmit power in reserve for when you need a little more oomph.
On the other hand, if you want to be what I call backpack-portable then your choices begin to narrow.
For that kind of portable you need to look at smaller QRP rigs like the Yaesu 817 and 818, or Icom 705. With integrated batteries these radios are very portable, and fit into a backpack quite easily. The drawback is that these rigs are hamstrung by having only QRP transmit power.
Some operators like to pair a QRP rig with a small amplifier, but that’s a dumb idea. Adding an amplifier to a QRP rig is like adding wheels to a boat so that you can drive it down the freeway. Either buy a boat, or buy a car, or buy both. You’re just adding bulk and complexity over that of a 100 watt rig.
So what kind of radio should you buy?
My advice is actually to not buy anything . . . instead you should borrow a rig from another ham, or ride along with another activator on his trips to see how things go.
Antennas and coax
As a beginner just starting out there are really only two antenna options that you should consider: verticals and dipoles.
The reason for the limited options is simplicity: when getting started you’re better off with gear that is understandable and easy to troubleshoot.
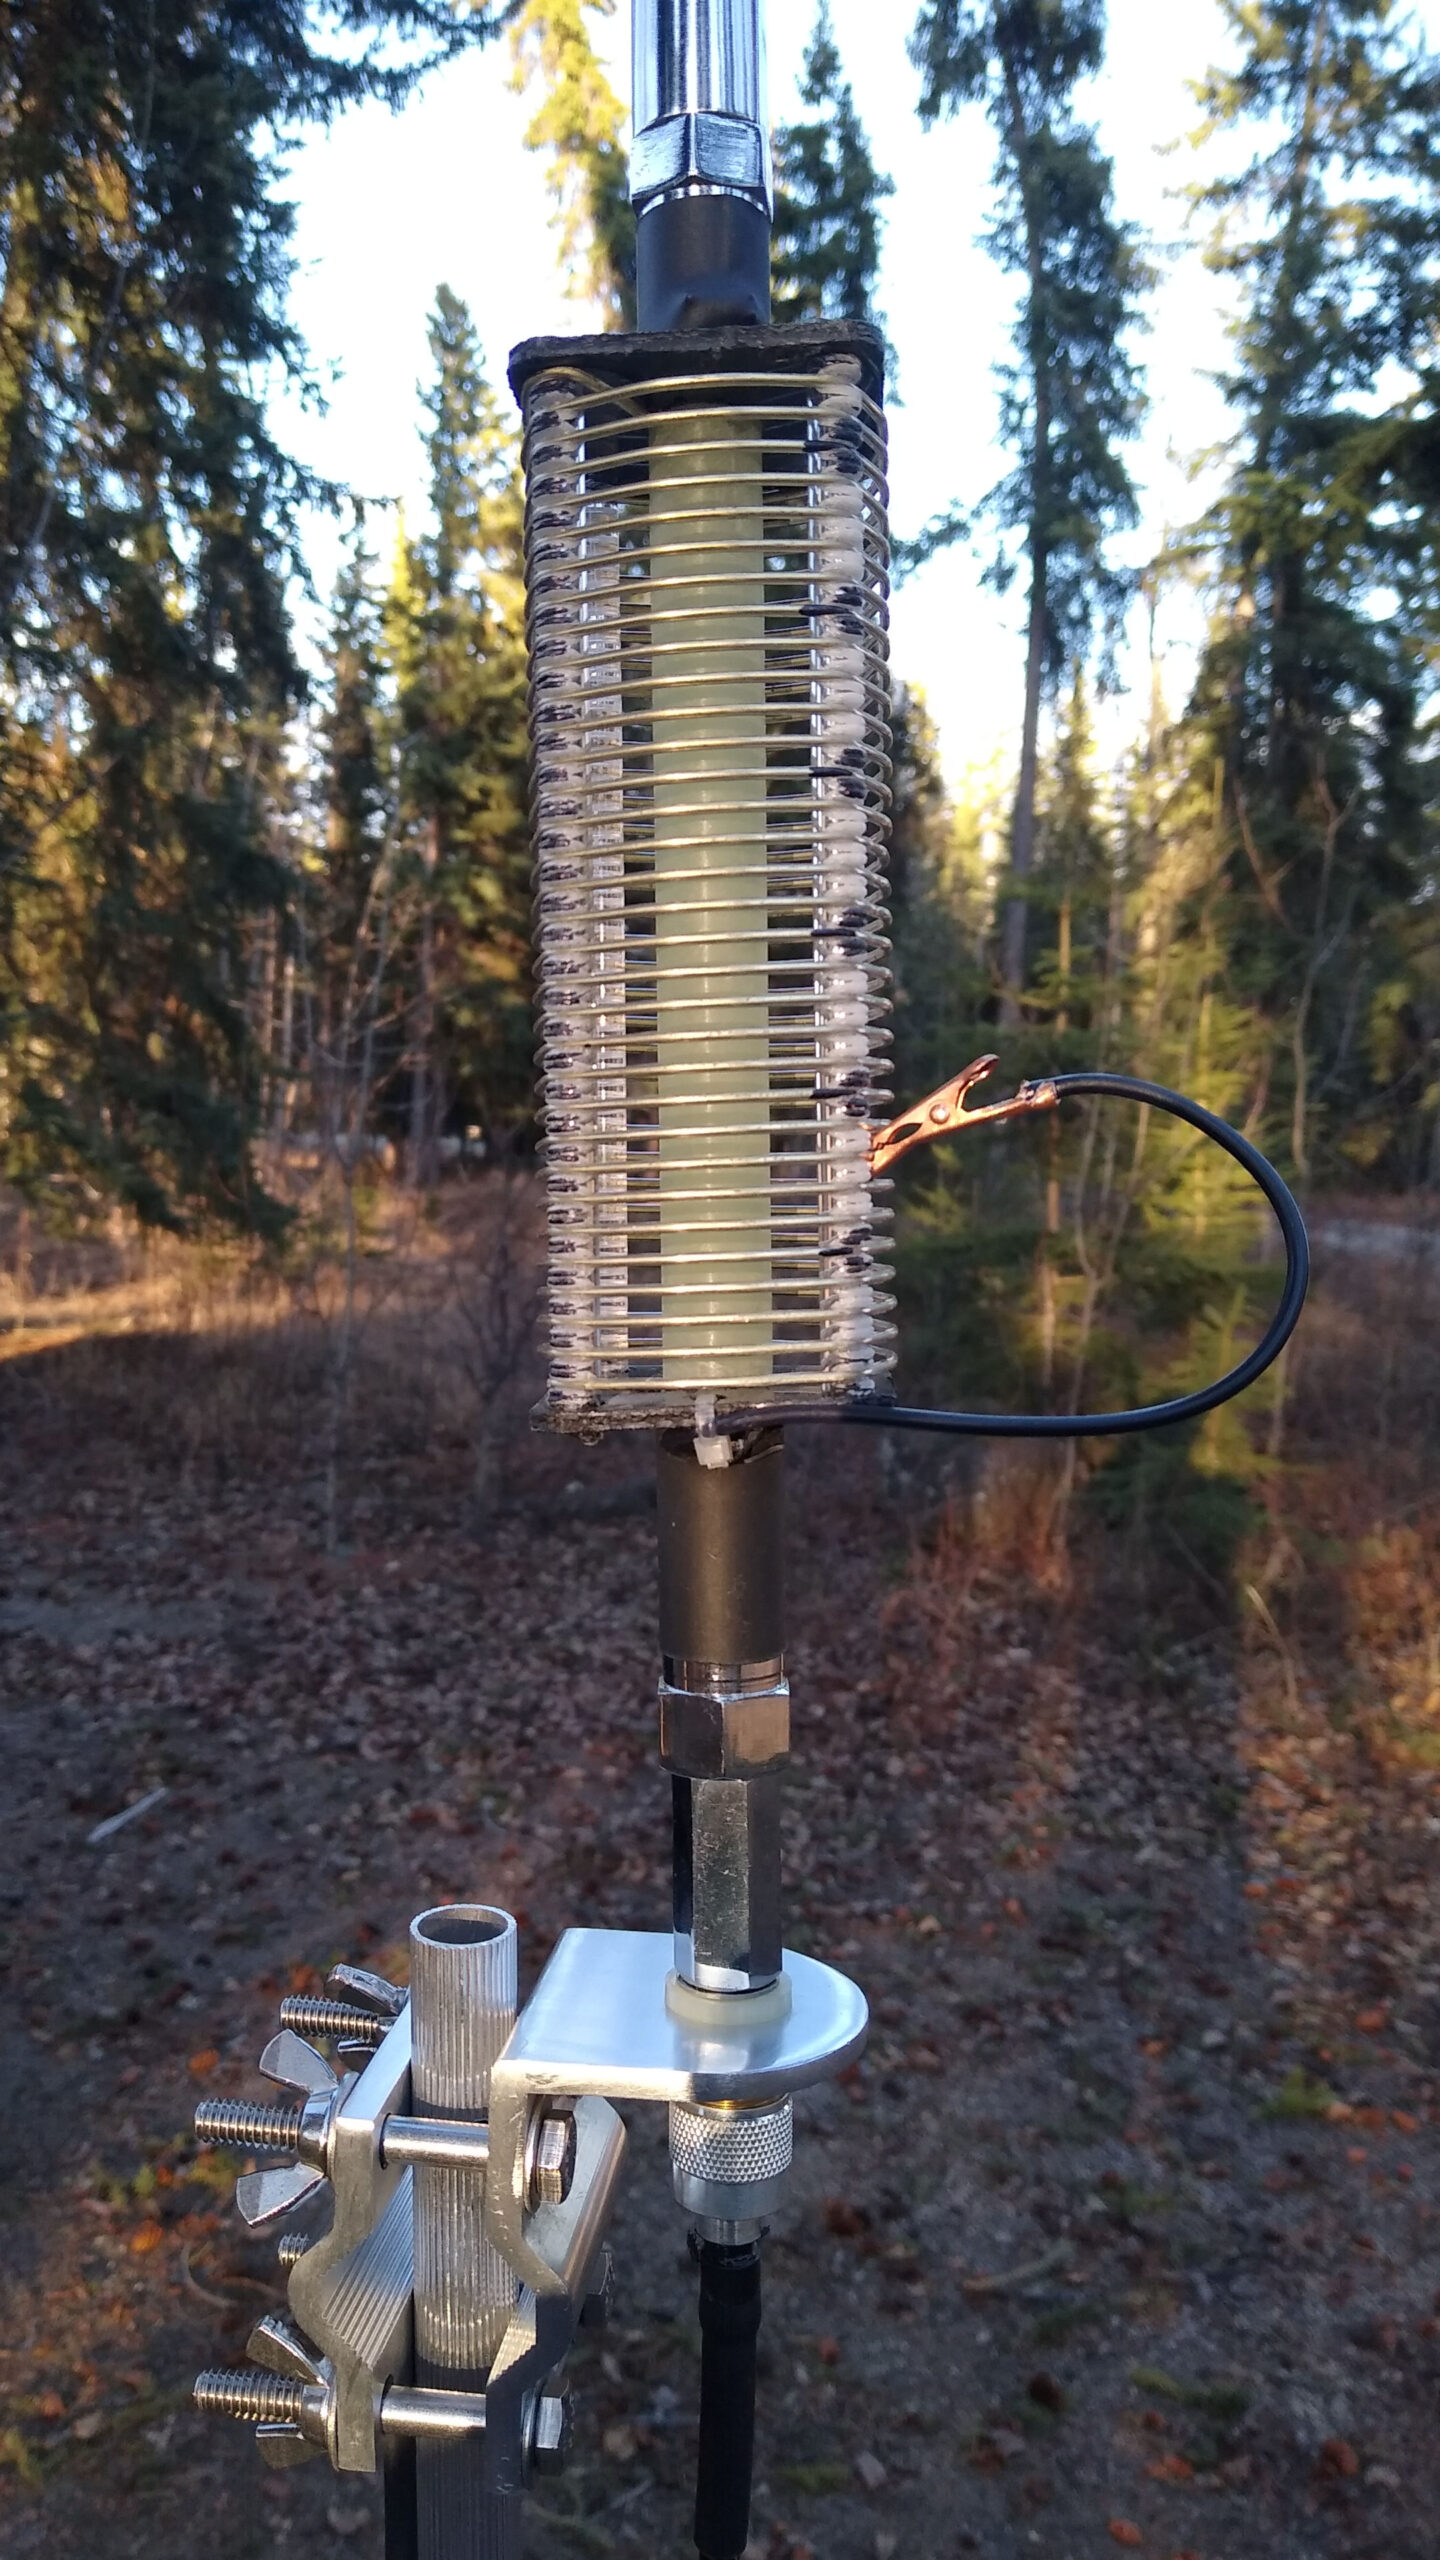
Vertical (or monopole) antennas work great in almost all situations. Some designs use a mast to hold up a wire, but I have moved away from that style.
I now use freestanding verticals where the element is a telescoping stainless steel element. After all, why have two components when one would work better. Keep it simple!
Dipoles are the other classic antenna that you should consider for your first activations. In particular, the inverted V style dipole provides a good match to coax and only requires a single support for the center.
There are a number of variations on the dipole which are popular and work well. A “linked dipole” incorporates connectors along the elements that let you shorten the dipole by disconnecting the ends. Having multiple sets of connectors can allow you to have a single antenna that covers multiple bands, one band at a time.
The so called “fan dipole” is a popular antenna that lets you cover multiple bands at the same time, without readjusting. Multiple pairs of wires originate from the same center insulator, with each set cut for a different band. However, I only recommend fan dipoles for extended activations. All those wires tend to get tangled during transport and can make a real mess when you go to get set up. They do perform well though.

With either dipoles or flexible-wire verticals you should resist the urge to use a throw line and hoist the antenna up under a tree. While that makes for a very portable antenna package (no rigid elements to pack) you compromise your antenna pattern by being under a tree. Yes, it can work, and operators do so, but why make things more difficult for yourself? Be equipped to set up your antenna in the clear where you can transmit and receive well.
Test everything at home
So you’ve spent some time in the garage, assembled your portable station, and you’re ready to go. Now what? Don’t head out into the wild just yet. A better option is to set your station up in the driveway or backyard, and test it there.
By taking the time to try everything out at home (including packing, setup, tear-down, and operating) you will work out a lot of bugs that you didn’t know your station had. You’ll thank me later.
Besides, every weekend of the year there are other activators who are already out in the field and need hunters/chasers to contact. What better way to test your spiffy new station than to contact those ops and help them out with their activations? Check the SOTA and POTA websites for current spots from activators who are on the air, tune around, and hand them a contact. It’s also a great way to make friends.
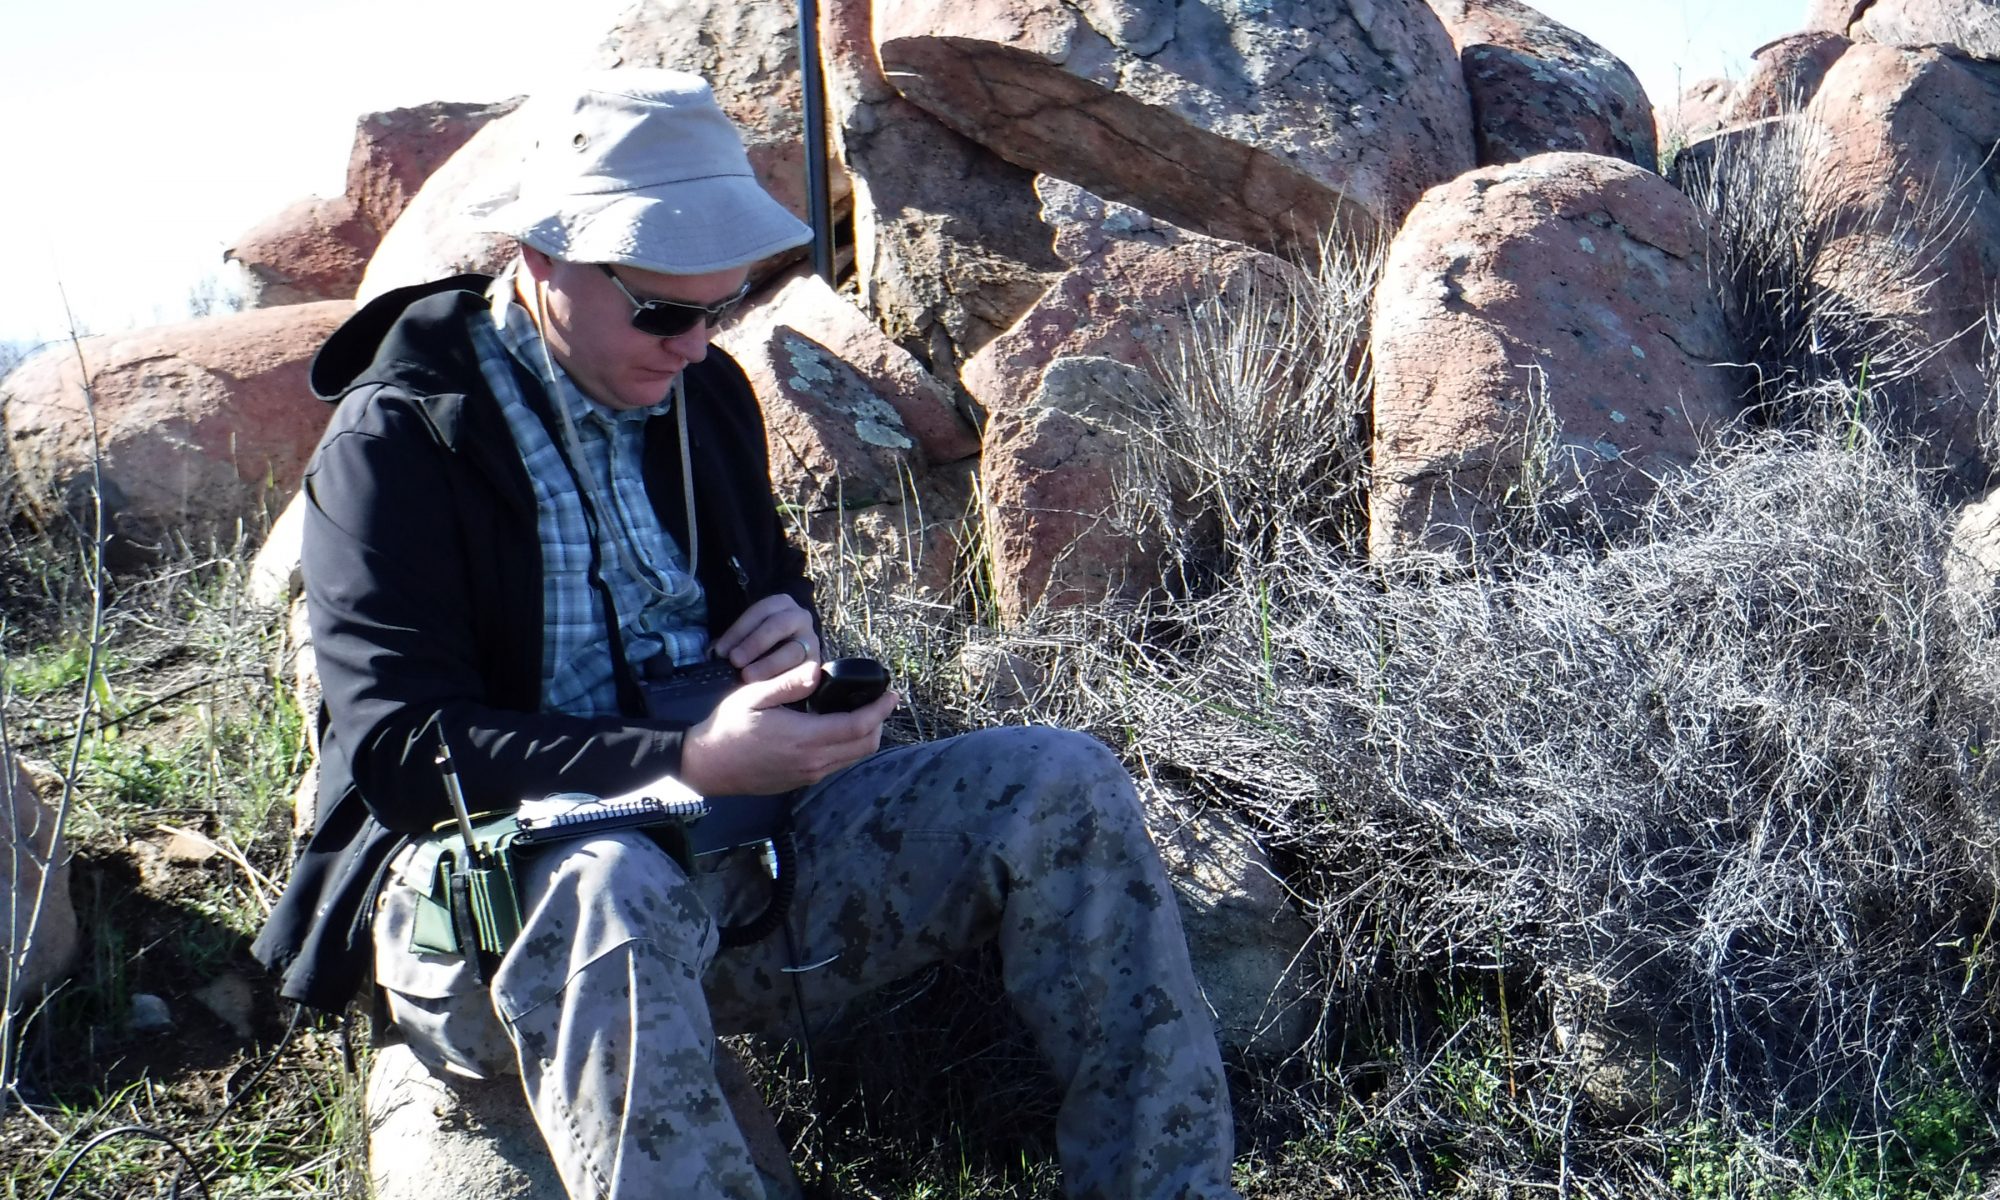
First activation
Once you have everything working well at home it is time to head out into the field and try it for real. But where should you go? My advice is to find a spot with the following characteristics:
- Qualifies for your chosen activity (POTA, SOTA, IOTA, etc.)
- Doesn’t require much travel time
- Is somewhere you have been before
- Not too busy (or has areas where you can be away from the crowd)
By choosing a site with those characteristics you remove a lot of pressure from your first activation.
Also, don’t be afraid to ask another operator to go with you, even if just for a little while. Having another experienced operator attend can really help out when you run into a problem. Your elmer for the day doesn’t even need to be a fellow portable activator; he or she just needs to know radios and antennas well.
A similar benefit can be had by putting the word out with your local club members. They may not all have an interest in “on the air” activities, but I’ll bet they love to make contacts on HF. Having club members listening for you can make or break an activation.
Lastly, be sure to put out an alert with your chosen activity before you head out, and be ready to self-spot once you are on the air. Alerts (ahead of the activation) and self-spots (during the activation) are the two most useful things you can do when it comes to scaring up contacts.
Backup plans
It should go without saying, but if the distance allows you should consider bringing your VHF/UHF gear with you. If you run into problems on HF you can often salvage the activation with VHF/UHF. (Ask em how I know.)
On the other hand, if everything works well then you will just have that many more contacts in the log.

Updated 2022-05-22